


If you are new to PC gaming you may be wondering how to access your favorite games. Unlike Xbox and Playstation all your games are not neatly organised in one library. On PC there are multiple different clients to launch your games. If you want to play games such as Call of Duty, Diablo, World of Warcraft etc you will need to install the Battle.net client on your PC.
In this article we are going to show you how to install Battle.net on PC so you can start playing your favorite games. Let’s jump in.
How To Install Battle.net On PC
Follow the steps below to install Battle.net on your PC.
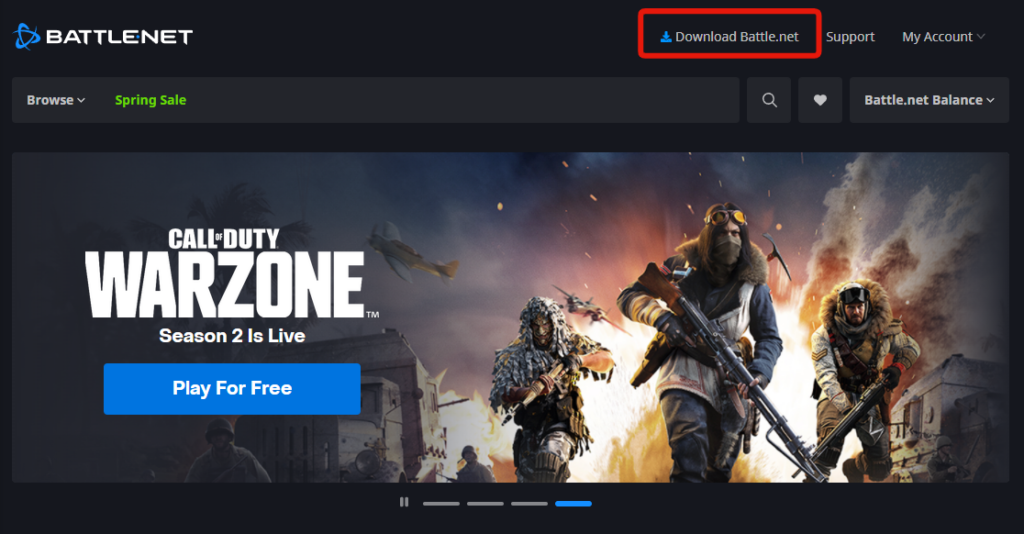
- Download the Battle.net client on the Battle.net website. Click on the “Download Battle.net” button in the top right corner.
- Click on the downloaded file in your downloads folder to start the battle.net install.
- Your computer will ask for permission to install the file. Allow permission.
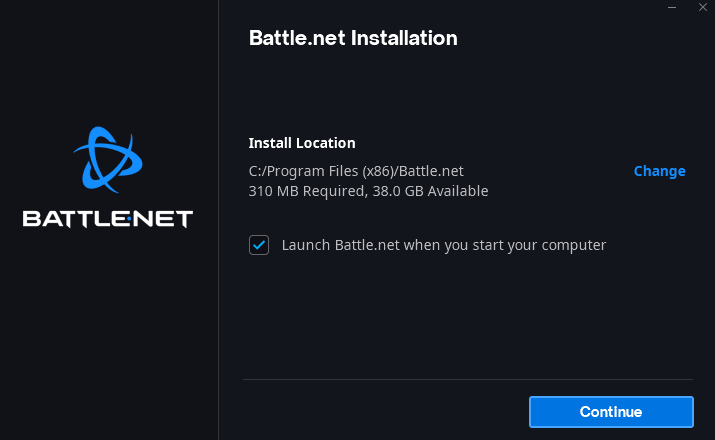
- Choose the install location for Battle.net and select whether or not you want it to start on launch. Click on continue.
- Battle.net will start to install. This takes a couple of minutes to fully complete.
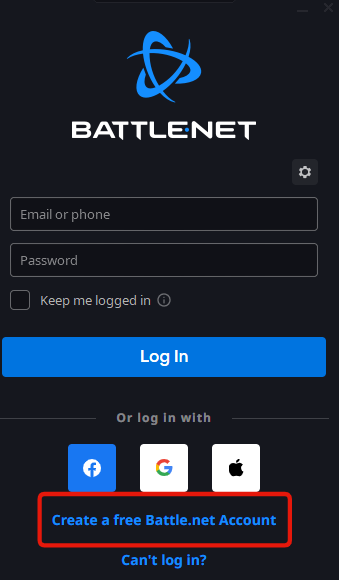
- Once it has fully installed it will ask you to log in. If you haven’t created a battle.net account you will need to do so. You can do this by clicking on the “Create a free battle.net account” button.
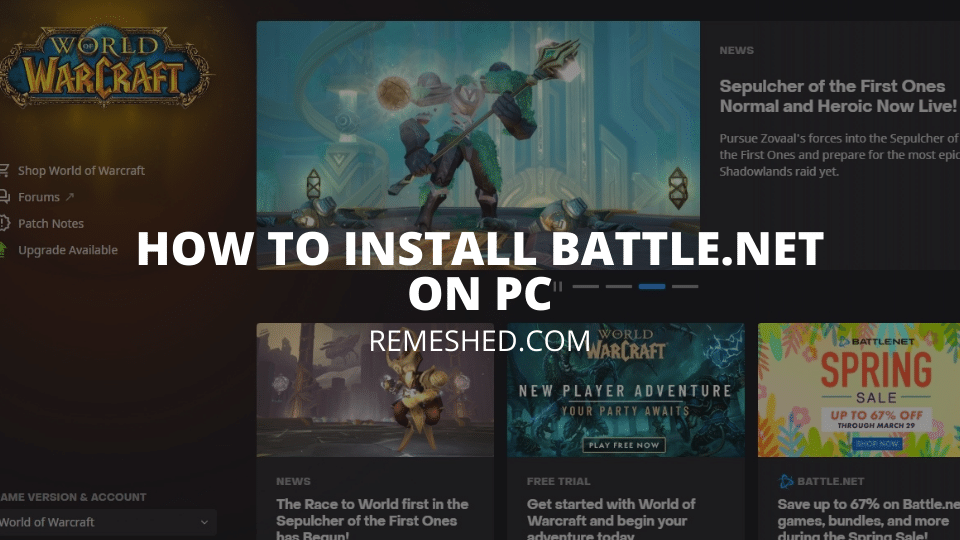
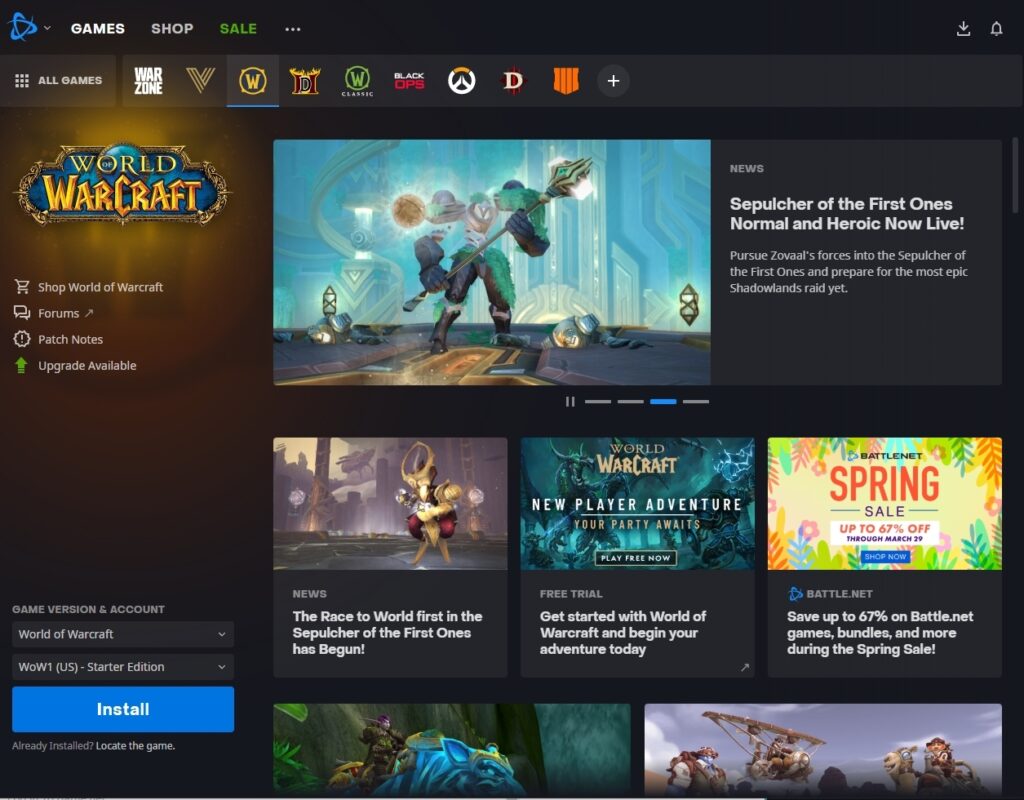
You have now successfully installed battle.net on your PC and are ready to start playing some games. You can see all of the available games along the top of your dashboard.
How To Add Friends On Battle.net
Now that you have battle.net installed, you will probably want to add some friends on the platform. After all gaming is much more fun with friends. You can add friends on Battle.net by following the steps below:
- Open your Battle.net dashboard
- On the right hand side you will see a friends section
- Click on the “Friends + Icon”. A pop up will appear, where you can enter your friends battletag (Name on Battle.net) or their email.

4. Once you successfully find your friend, send them a request. Once they accept you will be able to invite them to your sessions in Battle.net games.
How To Change Download Location On Battle.net
If you are downloading your first game on Battle.net you may want to change the download location of your games. If you have multiple hard drives in your PC, you will want to decide where to install your games.
Ideally you will install your games on an SSD as this will give you the best performance in game with faster loading times.
Follow the steps below to change your download location on Battle.net:
- Open the Battle.net Application on your computer
- Click on the game you want to install
- A screen will pop up where you can decide the location of your install. Click on the change folder button and select your install location.

How To Change The Location Of An Installed Game On Battle.net
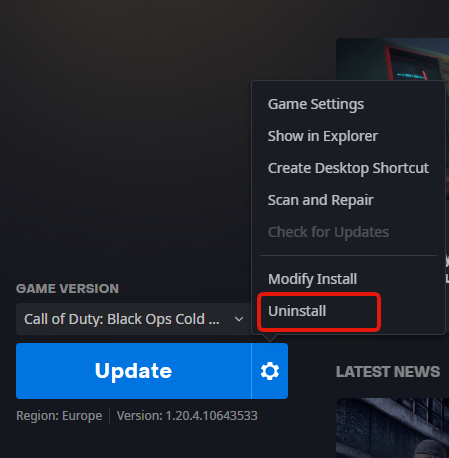
If you want to change the location of a game you have already installed you will have to uninstall the game and re-install it in the location you want. You can uninstall a game by following the steps below.
- Navigate to the game you want to Uninstall
- Click on the settings COG in the bottom left
- Click on un-install
Wrapping Up
You have now successfully installed Battle.net on your Windows 10 PC. Enjoy playing all the Battle.net exclusive games!
Read More From Remeshed: